


Free Pattern: Patwoman's Cat Hat

 So you want to make Patwoman's Cat Hat, eh? I will show you how. It's basically the same as the Hello Kitty Hat, at least in terms of construction. This one is just sized for adults. It also calls for a bulky weight yarn, so it goes really quick.
PATWOMAN'S CAT HAT
You will need:
About 80 yards of a bulky weight yarn. (Furry yarns will give you a fluffy cat; smooth yarns will give you a sleek cat.) I have used Yarn Bee Luscious, Yarn Bee Soft Delight, Lion Brand Homespun, Lion Brand Thick And Quick, Lion Brand Jiffy, Sensations Sumptious, and NoBo, among others. Some other yarns will work, too, if you double them up. For example, I used a strand of Patons Divine with a worsted weight yarn and got a very good effect.
Circular needles that will give you a gauge of 2.5 stitches per inch. (I used #10.5, but if you aren’t a loose knitter like me, you can go up a size or two.)
An extra set of needles of the same size for the three needle bind off.
A stitch marker to mark the beginning of the round.
Hat:
Cast on 50 stitches, using a nice, stretchy cast on like the knitted cast on or cable cast on. Or just use a backward loop cast on if you are in a hurry. If you are using a fuzzy yarn, no one will see it, no one will care. (I call this Patwoman's Rule of Plausible Deniability. Did I cast on the way all the knitting books say I should cast on? Sure, why wouldn't I?)
Join and place marker, being careful not to twist the stitches. (I

have two tricks for that: 1) you can lay the circular part of the needles flat on the table, only lifting the part you are knitting up for the first couple of rows. That keeps the yarn nice a flat, not twisty. But it is a pain in the ass to do. And 2) Knit the first two or three rows back and forth, as if you were knitting flat. Then, when you feel comfortable with that, you can join and continue knitting circularly. You’ll have to seam that little bit when you are finished and you’ll have to remember to reverse the knit/purl stitches when you are working the reverse side of the hat flat. But that’s all pretty easy to do.
Knit 1, Purl 1 rib for 5 rows.

Now switch to stockinette (remember, on a circular needle, that’s knit every row. So this is the time you can watch TV or read or whatever.) and knit until the entire piece measures 7½ “
Next, slip the first 25 stitches to a straight needle. Now, slip them to another straight needle. (You’re positioning them for the 3 needle bind off.) Now you can hold the needle with the first 25 stitches against the needle with the last 25 stitches (wrong sides together) and bind off.
Three Needle Bind Off:
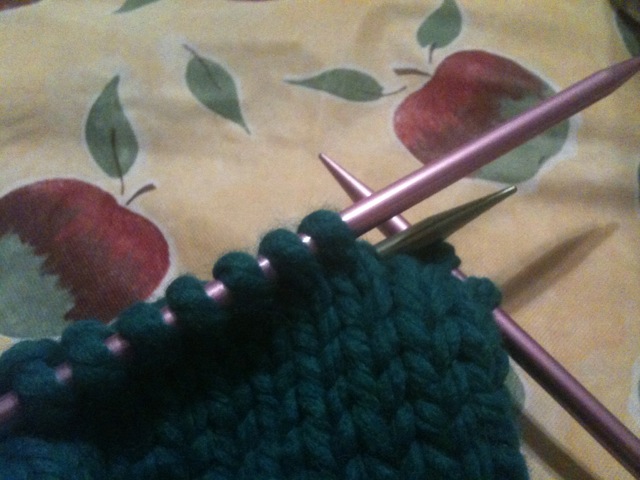
Knit the first stitch from the front needle together with the first stitch from the back needle and slip them off. You will have one stitch on the right hand needle.
Knit the next stitch from the front needle together with the next stitch from the back needle and slip them off. You will have two stitches on the right hand needle.
Pull the first stitch on the right hand needle over the second stitch and off the needle. You now have one stitch on the right hand needle again.
Continue until only one stitch remains. Cut yarn and pull through remaining loop. Pull tight. With a yarn needle, pull the end through to the inside of the hat and secure.
Finishing:

Weave in any ends. Seam the little bit at the beginning if you need to.
Place hat on head and mark the spot where the base of the ears should be. Take the hat off and put a stitch or two there to shape the ears.
Meow!


posted by Patwoman | 11:18 PM
![]()
0 Comments:
Post a Comment
<< Home